|
Ever since I got the Scout, it's been a hassle to fill the tank without spilling fuel all over the side. It can't
be safe to have gas pouring over a hot exaust tip. I realized the problem was the Scout gas filler.
It's just a big hole, with a vent at the bottom which get's flooded easily. You need to develop precise skills just
to fill the tank without spilling. And I was growing tired of having to stand and hold the handle the whole time.
But new cars don't have this filling problem because of a proper ventilation system. So one day I was cruising
around a pull-a-part yard in Seattle looking for other things when I was suddenly reminded of this problem. So I scouted
around (pun intended) for a modern gas filler neck that looked like it might work. I settled on a '85 Ford Escort filler.
It has a seperate vent tube that is located on the TOP which could be easily cut and attached to the Scout vent system.
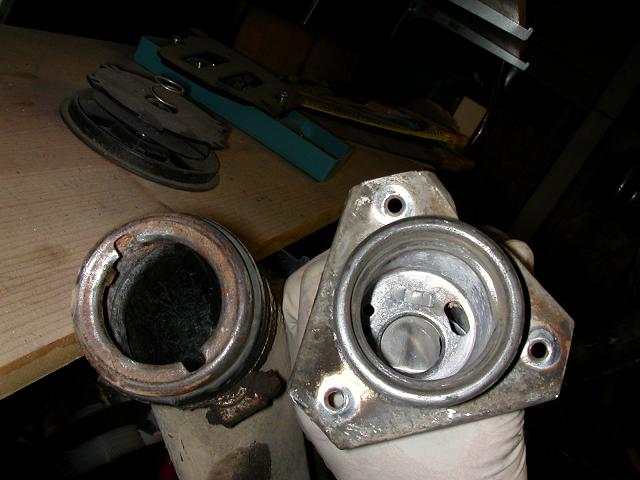
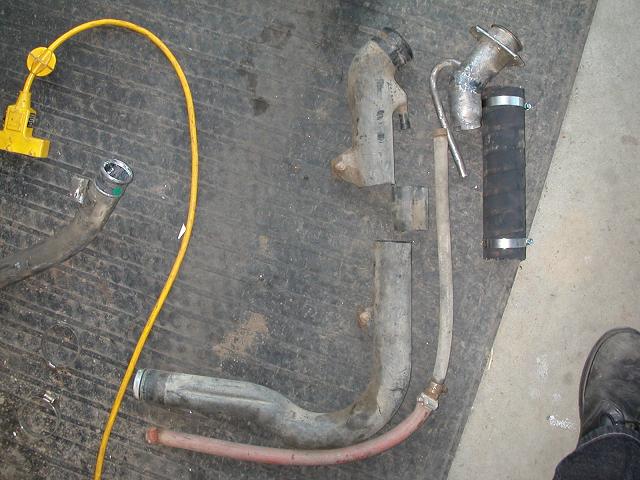
So I ripped it out of the car. Cost me $3. Here is a photo of the stock filler neck (left) and the Escort filler
neck.
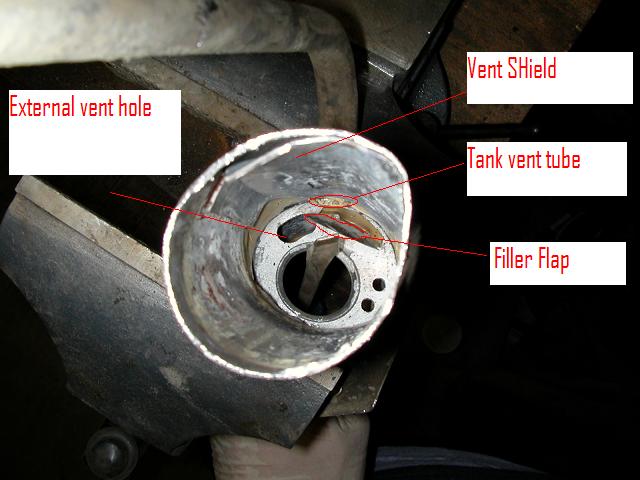
This is the vent system. Complicated, but it works. I've labeled everything, but I don't think those are
the "techinical" terms for the items. When you insert the gas filler into the tube, represented by a screwdriver in
this pic, the flap connects the air vent system between the vent shield, vent tube, and external vent hole.
As you can see, the top angle is all wrong, it needs to be a tighter angle to fit. So, in the picture below you
can see that I made some marks and cut a chunk out with my air cutoff wheel to reduce the angle.
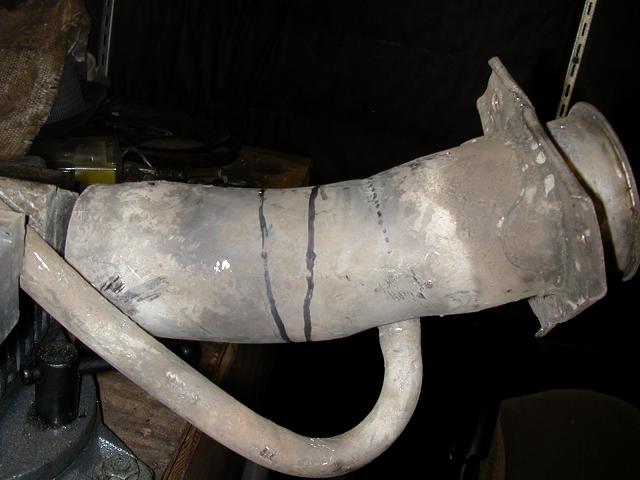
Here the neck has been cut, welded and smoothed. I heated and bent the vent tube down and then straightened it
also. I also decided that I would certainly have to use part of the original neck, so I made a few cuts and laid
the parts next to each other so you can see where it all ended up. The stock lower hose bolt lined up and works great.
I cut the rest of the tube off just above it. Then I went to my auto parts store to get some rubber gas filler tube.
Cost me $12 including 2 new clamps.
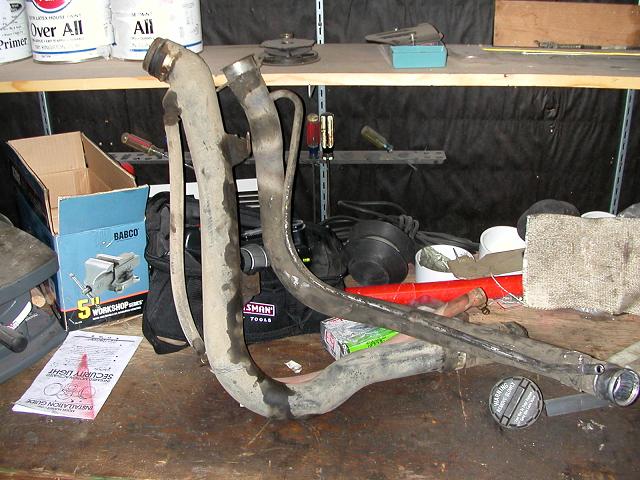
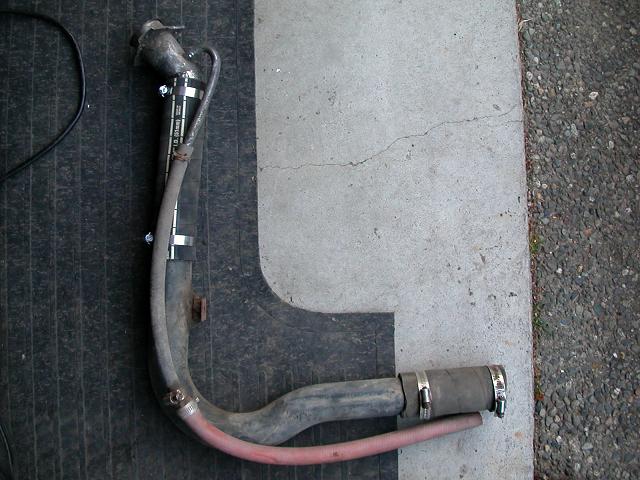
Here's the completed assembly that I came up with. The bend in the top turns out to still not be enough.
I had to force it up against the body really hard to get it flush. And unfortunately that gas filler hose is NOT flexible
at all, so it started to kink up. So I added two more band clamps around the kinked areas to round the tube out (not
in this pic). It worked, but not the preferred method. After it is all said and done I would have looked for a
vehicle with a sharper initial bend in the filler tube.
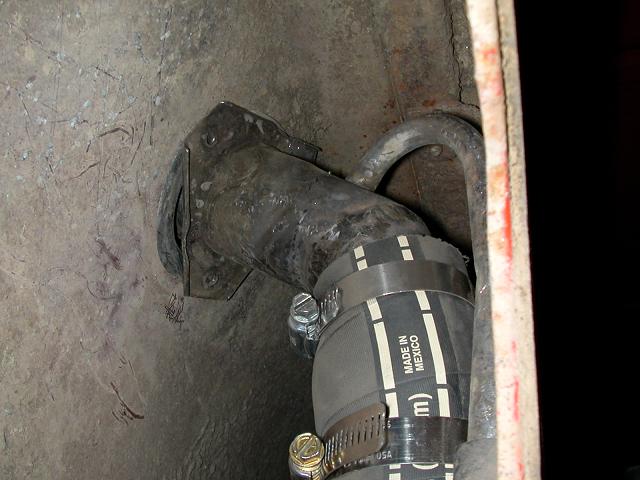
Here is the mounted filler neck from the inside. I added 3 rivets after this pic to keep the neck centered in the
filler hole as it is smaller than the original. The rivets are covered by the external rubber flange.
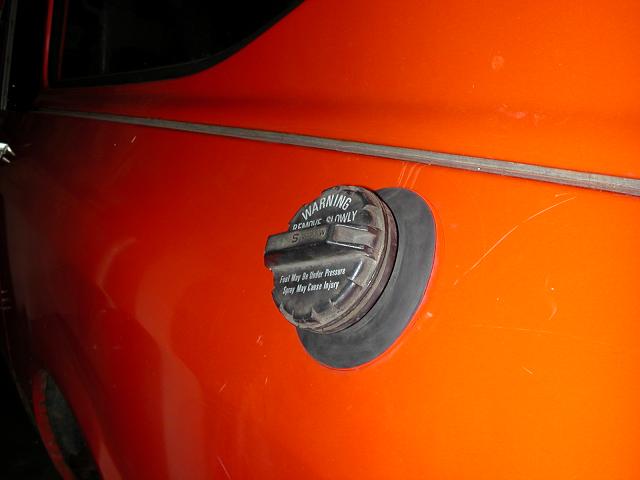
Here it is from the outside. Looks pretty good! Doesn't stick out any more than the factory one did, which
is nice. And now I can get a locking cap so people don't get sneaky with these high gas prices these days. But
the main thing is that now I can just stick the filler nozzel in the truck and let it fill up like a normal person.
No gas on the side of the tuck, just in the tank.
|