|
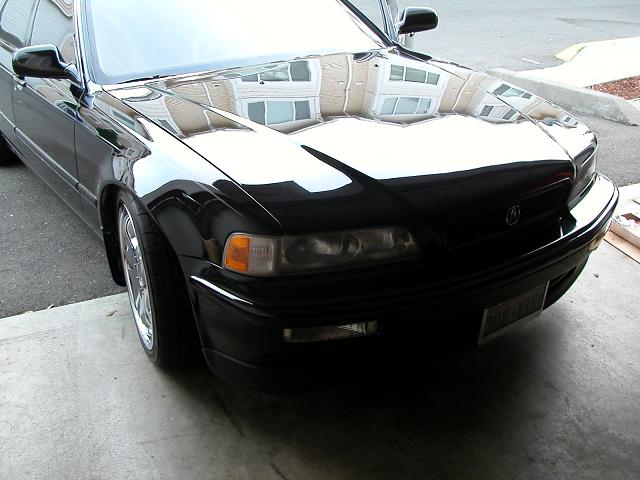
This is my 1992 Acura Legend LS Sedan. Took me over a month to find a black on black model, and I had to drive
to Oregon to get it. But it's my pimpin ride and I had a lot of fun building it and driving it.
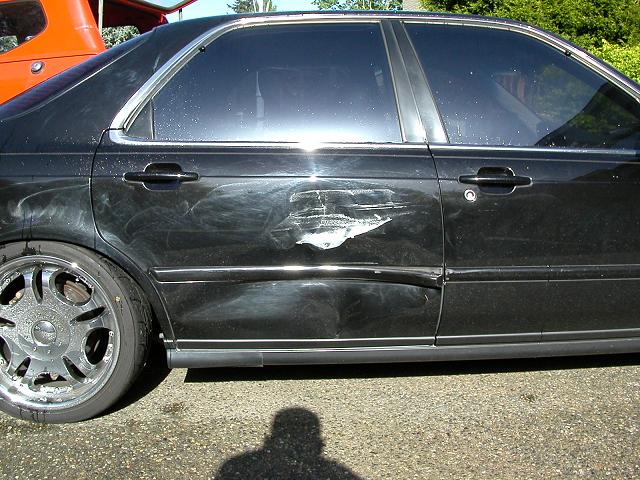
Well, this is the result of a poorly maintained vehicle on the freeway. The driver behind me did not see the slowing
traffic ahead of him and had to slam on the brakes. The right front brake line on his car burst, forcing him to try
and avoid me by ditching to the shoulder. Needless to say he overcorrected, sliding his backend out and into my door.
I hardly moved from my lane from the impact, but it sent him flying over the shoulder into some trees. Fortunately everybody
was ok.
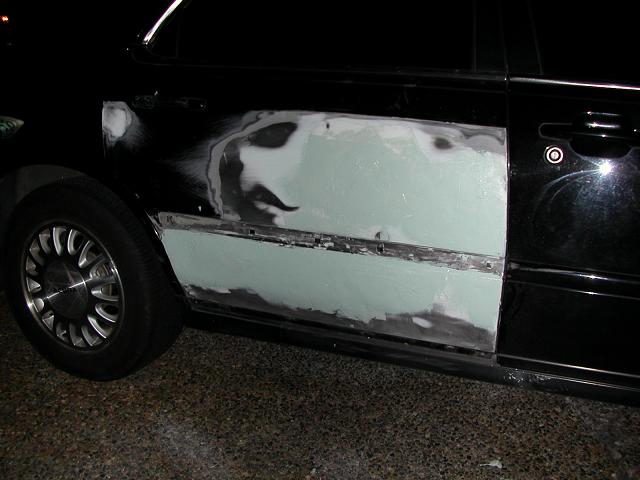
Second coat of body filler. Not as easy as I thought. The layers need to be really thin as you don't want
body filler any thicker than 1/8". I got the metal within that range, but it takes several thin coats of filler to get
it perfect. I believe I'm going to need some filler reducer for the last coat.
|
 |
|

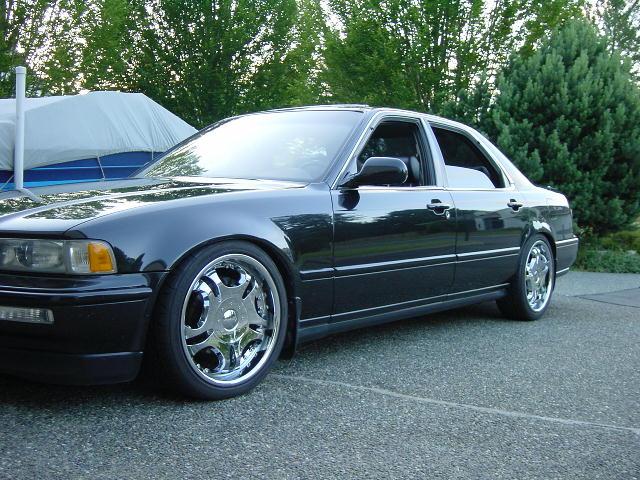
The rims are chrome Katana Racing Spazio's in 18x7.5 sizing. Pretty much the biggest rim you can get on a Legend.
Some go 19", but the tire is too thin, even for me. I run the Yohohama Parada tires on this car and absolutely love
them. They wear really well, run relatively quiet, and look good.
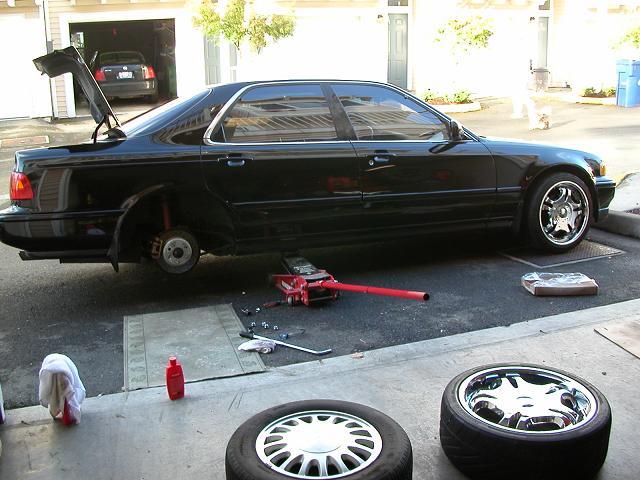
Here's a shot of the rear suspension showing the Koni adjustable struts, Ground Control adjustable suspension,
Cad plated dimpled Brembo rotors, and Goodridge stainless brake lines.
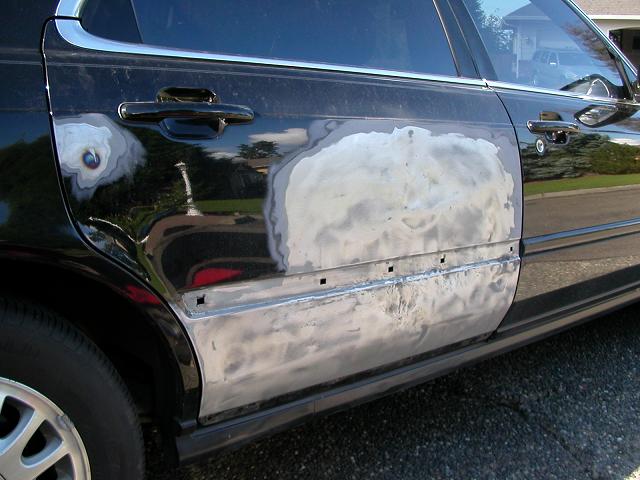
So long story short the driver had no insurance, and I have no uninsured motorist insurance. He won't pay despite
a judgment in my favor so it's up to me to fix it. I've been wanting to learn bodywork for a long time anyways.
So I picked up a hammer/dally kit and went to town. Between the kit, various pieces of wood, large hammers, and
a torch I was able to get the bare metal back to this position in approx five hours. Not too shabby for a first
timer! Although I have great respect for the pros who can do this with no body filler. I on the other hand will
require some filler.
I must also expalin the use of the propane torch. After a body panel has been impacted and pushed to a certain
point, the metal stretches and can no longer be beat back into position. There is simply more material there now.
The torch is a cool trick in where you heat the stretched metal red hot, and then cool it quickly with a bottle of water in
order to "shrink" it back into position. Works like magic! I must warn you to be careful doing this however as
I burned myself quite badly. I was in a hurry and allowed the torch flame to cross paths with my hand, melting the rubber
glove into my skin. I quickly pulled the glove off, but you can imagine the results. It's been over a month now
and my hand is just beginning to show signs of healthy skin. Lesson learned the hard way, again.
|
|
|
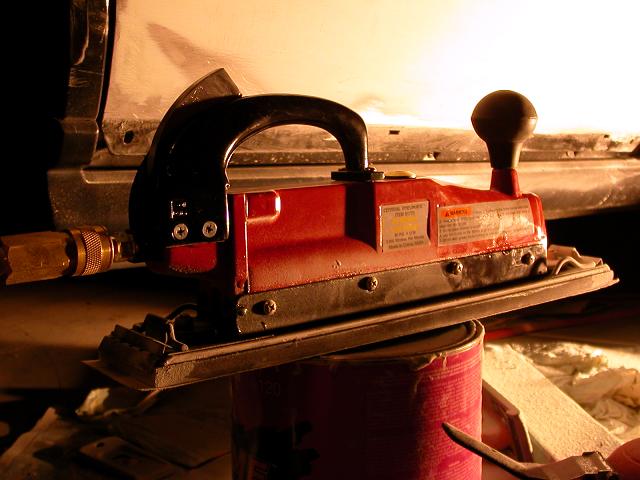
I originally purchased a couple hand use sanding blocks figuring I'd do this 'small' job by hand. Well that
got old really fast. $40 later this air powered sander arrived in the mail and made quick work of the body work.
Power tools not only take less energy to use, but allow you to do a better job because you don't lose your patience and energy.
Well worth it.
|
|
|
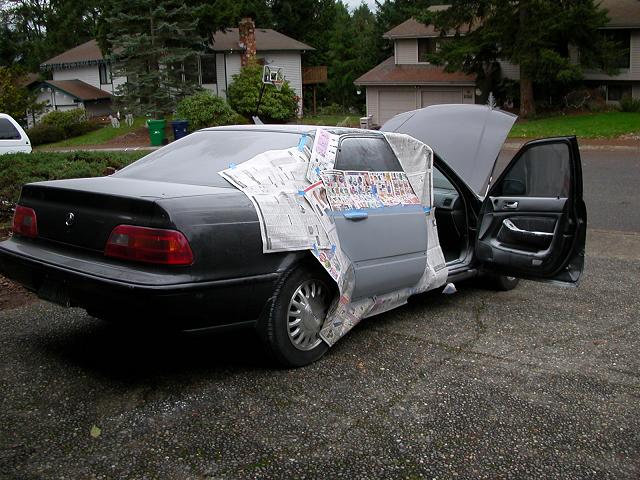
Finally. Weeks later I have the bodywork smoothed out and the sandable primer laid down. It's ready for finish
sanding and paint at this point. I've learned a lot on this project. I have a lot of respect for people that do
this professionally because it's not as easy as it looks.
|
|